Node.js + Vue.js 프론트엔드(Frontend) 환경 세팅 with Vue CLI
설명
이번 글에서는 Vue CLI를 이용하여 Vue.js 프론트엔드 환경을 세팅하도록 하겠습니다.
▶Vue CLI 설치
[참고] Vue CLI : https://cli.vuejs.org/
Vue CLI
cli.vuejs.org
아래의 방법은 이전에 설치한 Visual Studio Code를 이용한 방법입니다.
1. Visual Studio Code 좌측에 EXPLORER 영역에서 우측 클릭
2. [Open in Terminal] 선택
3. 하단 터미널이 표시되는 것을 확인
4. Vue CLI 설치 여부 확인을 위해 아래의 명령어 실행
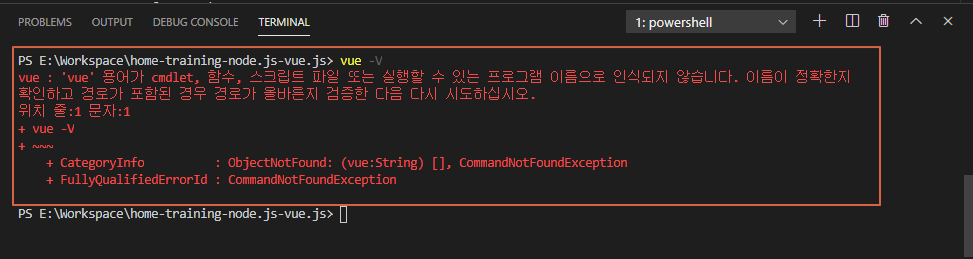
vue -V
5. Vue CLI가 설치되어 있지 않다면 아래를 실행
5.1. Yarn을 이용하여 Vue CLI 설치하는 경우

yarn global add @vue/cli
5.2. NPM을 이용하여 Vue CLI를 설치하는 경우

npm install -g @vue/cli
6. 설치된 Vue CLI 버전 확인

vue -V
7. 정상적으로 버전이 표시되면 설치 완료
[에러가 발생하는 경우]
- 만약 설치했는데, vue를 찾을 수 없다는 에러가 발생하면 아래의 경로가 [환경 변수]>[Path]에 추가되어 있는지 확인하고, 없으면 추가합니다.
- 환경 변수 경로 : C:\Users\{Your User}\AppData\Roaming\npm
- 저의 경우에는 현재 개인 PC를 Administrator 계정으로 사용해서 권한이 문제인지 Yarn으로 설치하면 Vue CLI를 찾을 수 없어서, NPM으로 설치를 진행하였습니다.
또는 아래 URL을 참고
▶프론트엔드(frontend) 프로젝트 생성
Vue.js 작업을 진행할 프론트엔드 프로젝트는 frontend라는 폴더명으로 진행하겠습니다.
1. 프로젝트 root 폴더에서 터미널에서 아래의 명령어 실행

vue create frontend
2. 그러면 아래와 같은 선택 사항이 나옵니다. 저희 default로 진행하겠습니다. 엔터.

3. 이제 또 다른 선택 사항이 나옵니다. 패키지 매니저를 선택하는 것인데, Yarn을 선택하겠습니다. 엔터.

4. 이제 프로젝트 생성이 진행되고, 아래의 이미지와 같이 친절하게 실행하는 방법을 알려줍니다.
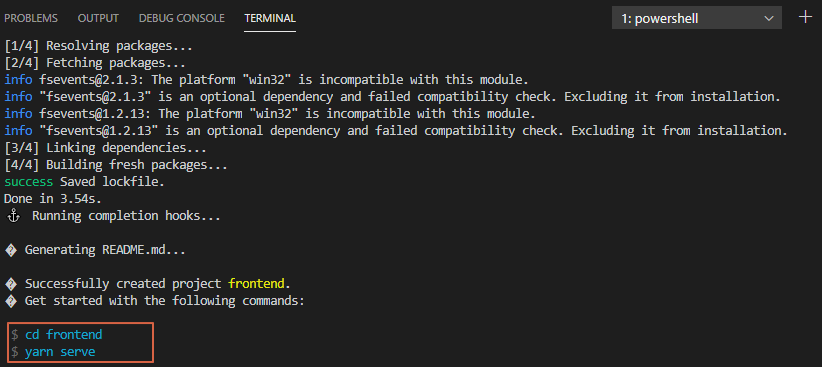
5. 이제 알려주는 대로 명령어를 실행하도록 하겠습니다.

cd frontend
6. 실행
6.1. Yarn으로 설치한 경우
yarn serve
6.2. NPM으로 설치한 경우
npm run serve
7. 터미널에 표시되는 Local URL로 접속하여 정상적으로 표시되는지 확인.
※ Visual Studio Code에 터미널에서는 URL를 [Ctrl + Click]으로 열 수 있습니다.
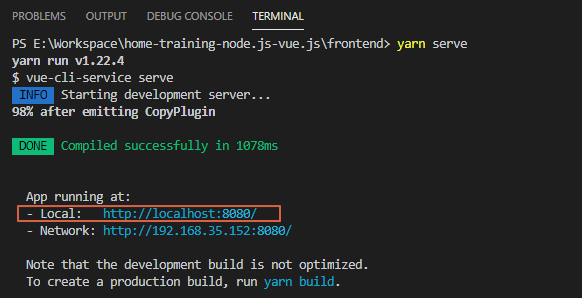
8. 실행 확인

▶.gitignore 파일 이동
이 내용은 git을 사용하지 않는다면 생략하셔도 좋습니다.
frontend 폴더에 자동으로 생성된 .gitignore 파일을 프로젝트 root 폴더로 이동시킵니다.
그러면 프로젝트 폴더의 구조는 아래처럼 됩니다. (README.md는 없을 수도 있습니다.)
- frontend
- .gitignore
- README.md
위에처럼 설정되어 있으면, git에 .gitignore 에 설정된 파일 등은 변경 사항으로 표시되지 않습니다.